
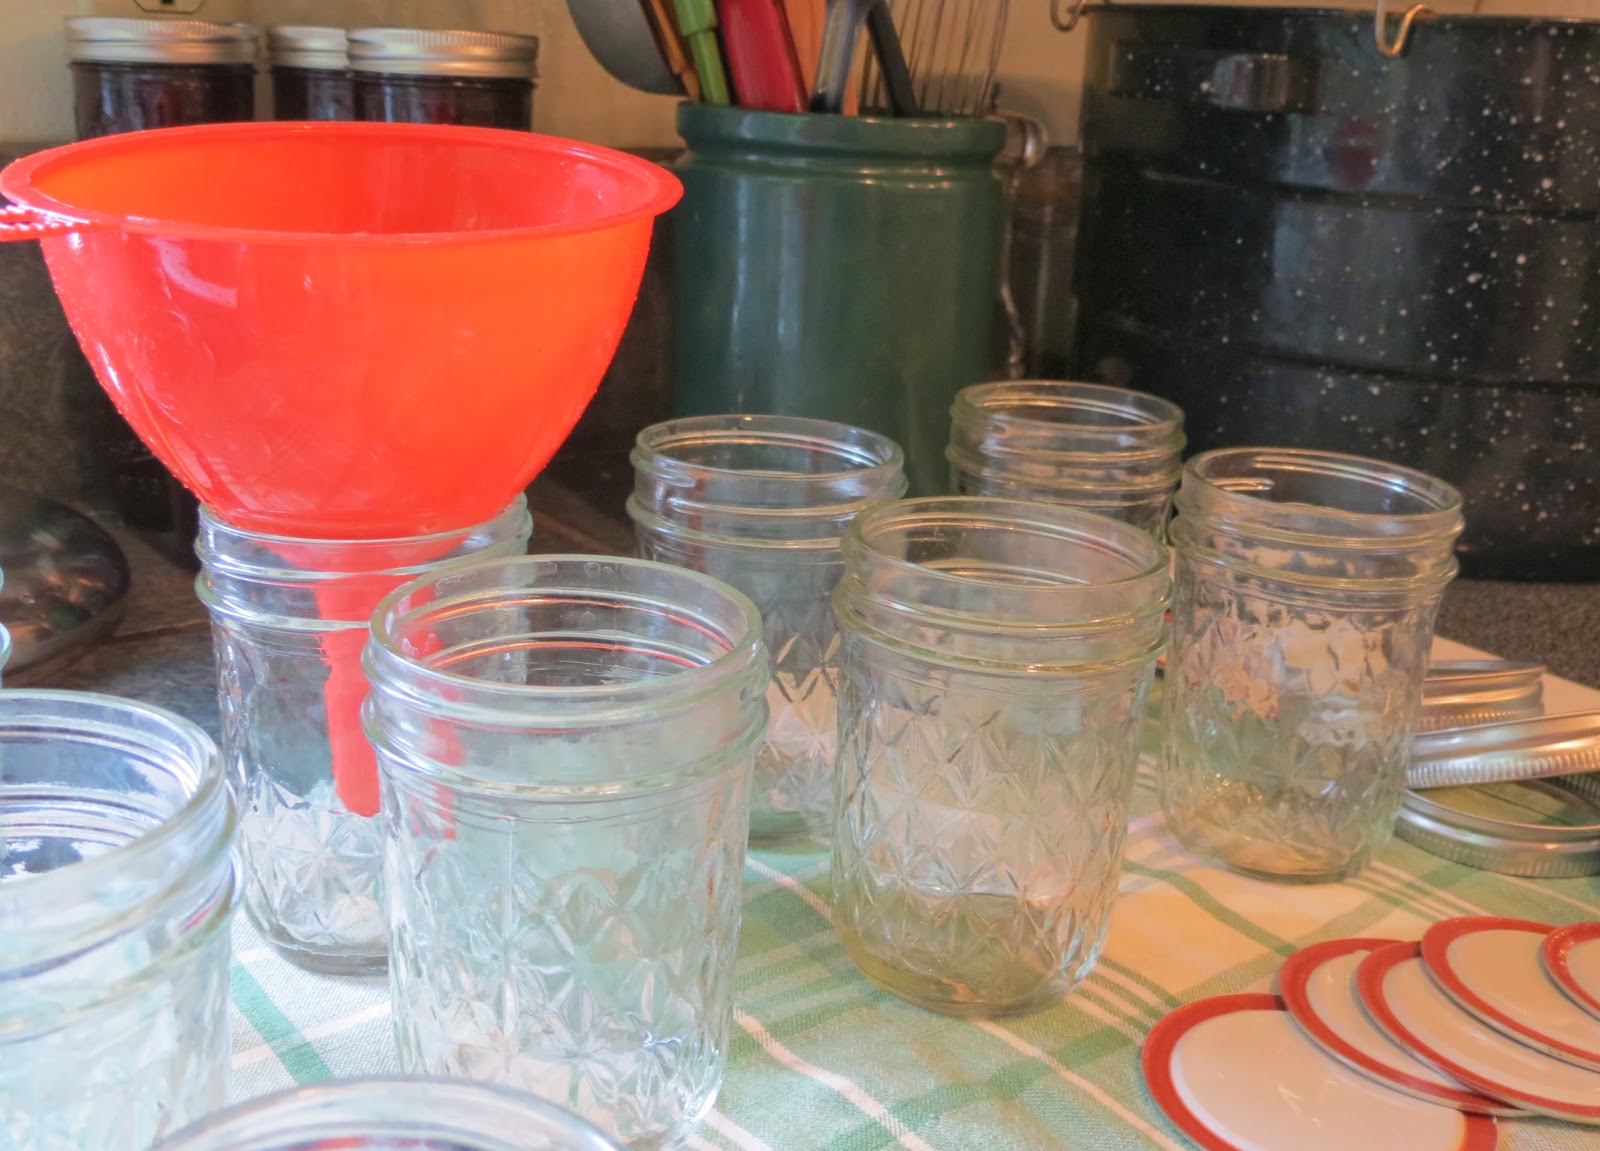
The first thing you need to do is assemble all the equipment (hidden away in the basement to be used exclusively for canning projects) and ingredients (don’t forget the lemons) necessary to make a successful batch.

It is important to make sure you have all the ingredients listed in the recipe (no subsitutions) so that the jam actually sets up (sadly I learned this from a
recent experience).
If not done properly you may get eleven jars of fruity pancake syrup. Which is OK if you eat a lot of pancakes.
If not done properly you may get eleven jars of fruity pancake syrup. Which is OK if you eat a lot of pancakes.
You can find many excellent blackberry jam recipes on the web. Below is
the recipe I used this week and was very pleased with the outcome. It should take you most of an afternoon
from start to clean up. There are
several steps so it is a little time consuming, but it’s really worth it to see
those pretty jewel-like jars sitting on your kitchen counter.
Blackberry Jam
Necessary equipment
10 canning jars, lids and rings
1 water bath canner with rack
1 large pot for making jam
1 large funnel for pouring jam into jars
1 ladle
Ingredients
10 heaping cups of blackberries
¼ cup juice
1 box pectin
8 ½ cups sugar
First I started out with approximately 10 heaping cups of fresh blackberries (no moldy ones please). You will need to wash them carefully in small batches to get
off all the dust and plant debris. I do this by putting them in a medium sized wire strainer, then run water through them in the sink until they look bright and clean.
 Because blackberries have lots and lots of seeds I take
about 4 cups of berries and using the wire strainer placed over a pan or bowl, smash them to
extract all the pulp and juice leaving just the seeds in the strainer. After
about 5 minutes of smashing I end of with about 2 cups of berry pulp.
Because blackberries have lots and lots of seeds I take
about 4 cups of berries and using the wire strainer placed over a pan or bowl, smash them to
extract all the pulp and juice leaving just the seeds in the strainer. After
about 5 minutes of smashing I end of with about 2 cups of berry pulp.
Then I lightly crush the remaining 6 cups of berries which
will reduce to 4 cups of crushed berries.
Combine this with the 2 cups of pulp and you will have a total of 6 cups
of crushed and smashed berries.


Now that you have the berries prepared there are several
things you need to have ready before you get started actually making the
jam.
You should have a water bath canning pot with rack filled with water ready
for the recommended10 minute hot water bath after the jars have been filled
with lids and rings secured. Some
omit this step, but I’ve opened a jar or two of jam several months after
canning and found some mold on my jam so I don’t skip it. Also since I like to give them away to
friends I want the jam to be really safe to eat.
Then you need to have ready the above mentioned:
¼ cup lemon juice (about 2 lemons),
1 box of pectin, and
8 ½ cups of sugar
Now you can start making the jam.

Once the berry mixture starts to boil, pour all the sugar in
at once and stir bringing the mixture to a full, rolling boil (one you can’t
stir down). Slightly lower the
heat continuing to boil and stir for four minutes bringing the mixture up to
220 degrees F.
Now remove the pot carefully from the stove
burner. The mixture is extremely hot so be careful. After you skim most of the
foam from the top of the pot you can begin ladling the jam into the jars using
a ladle and the large funnel.

Seal the jars with the clean lids and rings and place them
in the water bath canner which should be filled with enough water to cover the jars by
one inch. Bring to boil and boil
for 10 minutes. Remove the jars and
set on a towel and leave for 24 hours.
You should hear the jars pop as the lids begin to set a vacuum seal.
Using this recipe you should have about eleven 8 oz. jars of incredibly
yummy blackberry jam.

Now that you have the jam you might be interested in taking a look at the “Jam Tart” made by David Lebovitz at http://www.davidlebovitz.com/2008/07/jam-tart/, it could be worth trying.
I'll be sharing mine with my niece Robin and her family.
Enjoy!
Bye for now. Evelyn
Check Out:
Tastespotting - Excellent site for finding blackberry recipes.
2 comments:
eneulaiYeah!!! I just knew those Blackberries were for me!! We really appreciate all the work and effort that went in to making this jam and I know it will be absolutely delicious!
Thank you!
Robin
Your welcome - It really wasn't that much work. It really was a beautiful day to be out and about. A perennial activity since the first summer in Oregon so to speak. Looking forward to seeing you. E
Post a Comment